The worst photographs of manor houses are taken from the car park. You arrive, the house is there, the light is doing something interesting, and you shoot before your eyes have caught up. A manor house is not a monument to be recorded; it is a designed composition, and whoever designed it left instructions in the drive, the gate piers, the avenue and the way the lawn opens out. Reading those instructions is most of the work.
Light first, house second
Manor houses are large, pale surfaces, and they take light badly at the wrong hour. In the northern hemisphere a south-facing front is lit for most of the day, an east front takes the morning sun, and a west front takes the afternoon. Walk one full circuit of the building before you unpack anything and see which face is working. Ten minutes of walking routinely saves an hour of disappointment.
Flat, overcast light is honest. It records stone, brick, flint and render without blowing out the highlights, and window surrounds and mouldings read clearly. What it does not do is give the house shape, and it turns the sky into a blank white sheet. Compose so the sky occupies little of the frame, or include it deliberately and accept its flatness.
Raking light is the opposite. Early morning and the last hour before sunset catch the wall at a shallow angle and reveal texture you would otherwise walk past: the tooth of limestone, the softness of old brick, the slight unevenness of hand-trowelled render. Side light also throws the shadows that give a facade depth, which is why the twenty minutes before sunset often beat everything else in the day.
Then there is the blue hour, roughly the half hour after sunset. Interior lights come on, windows glow warm, and the sky turns a deep, even blue — the best moment for a house you can also see into. Bring a tripod, expect exposures of several seconds, and resist pushing the colour until the sky looks synthetic.
Stand where the architect wanted you to stand
Few manor houses were meant to be seen from a car park. Most were composed around an approach: a drive that curves so the house appears gradually, gate piers that frame it, an avenue of limes, a bridge over a moat, a final sweep of gravel that lets the front rise in front of you. Those positions work as well for a camera as they did for a carriage.
Then move. The most useful habit is to walk the perimeter of the lawn and look from four or five places rather than zooming from one. A three-quarter view — standing off a corner so two faces of the building are visible — gives volume and almost always reads better than a flat elevation. A dead-on symmetrical shot can be magnificent, but it needs a genuinely symmetrical building and a foreground to match: a parterre, a reflecting pool, a flight of steps, a matched pair of trees.
Keep the verticals vertical
This is the mistake that spoils more estate photographs than bad weather. You stand close, the roof will not fit, so you tilt the camera up — and the walls lean inwards, the chimneys bend, and the house looks about to topple onto you. It is called convergence, and it is fixable.
The simple fix
Keep the back of the camera parallel to the facade and the camera itself level, then step back until the roofline fits. A moderate focal length does this best; something around 24–35mm on a full-frame camera is comfortable, while phone ultrawides and 16mm lenses stretch corners badly. If you have a shift lens, use it. Otherwise level the camera, accept extra foreground, and crop later. Perspective correction in editing software works well used gently; pushed hard, it makes the building look stretched.
Two smaller points. Watch the horizon: a tilted skyline over a wide estate lawn is instantly obvious, so switch on a grid overlay. And place the horizon deliberately — a third up from the bottom if you want sky, a third down from the top if you want the house sitting low in its landscape.
Build a frame, then check its edges
Foreground turns a house photograph into a picture of a place. A gravel sweep leading to the steps, a low box hedge, a bench, a path, water carrying a reflection — anything that gives the eye a route in. Trees help too: a canopy of cedar or a single oak branch overhanging the top corner ties a building to its grounds.
Before you press the shutter, run through this list:
- Are the verticals vertical? Check the chimney stacks and the door frame, not just the walls.
- Is the horizon level?
- Does the foreground lead the eye in, or simply block the view?
- Are there intrusions — bins, signage, a hosepipe, a parked car, overhead wires? Two steps sideways often hides them behind a hedge.
- Does anything sit at a half-angle on the edge of the frame? Half a tree, a clipped corner of a tower, a sliver of wall all look like accidents.
- Do you want the figures in shot? A person on the steps gives scale; a crowd gives clutter. Decide rather than hope.
Three photographs, not one
A house is best told in three frames rather than thirty variations of the same view.
The establishing view
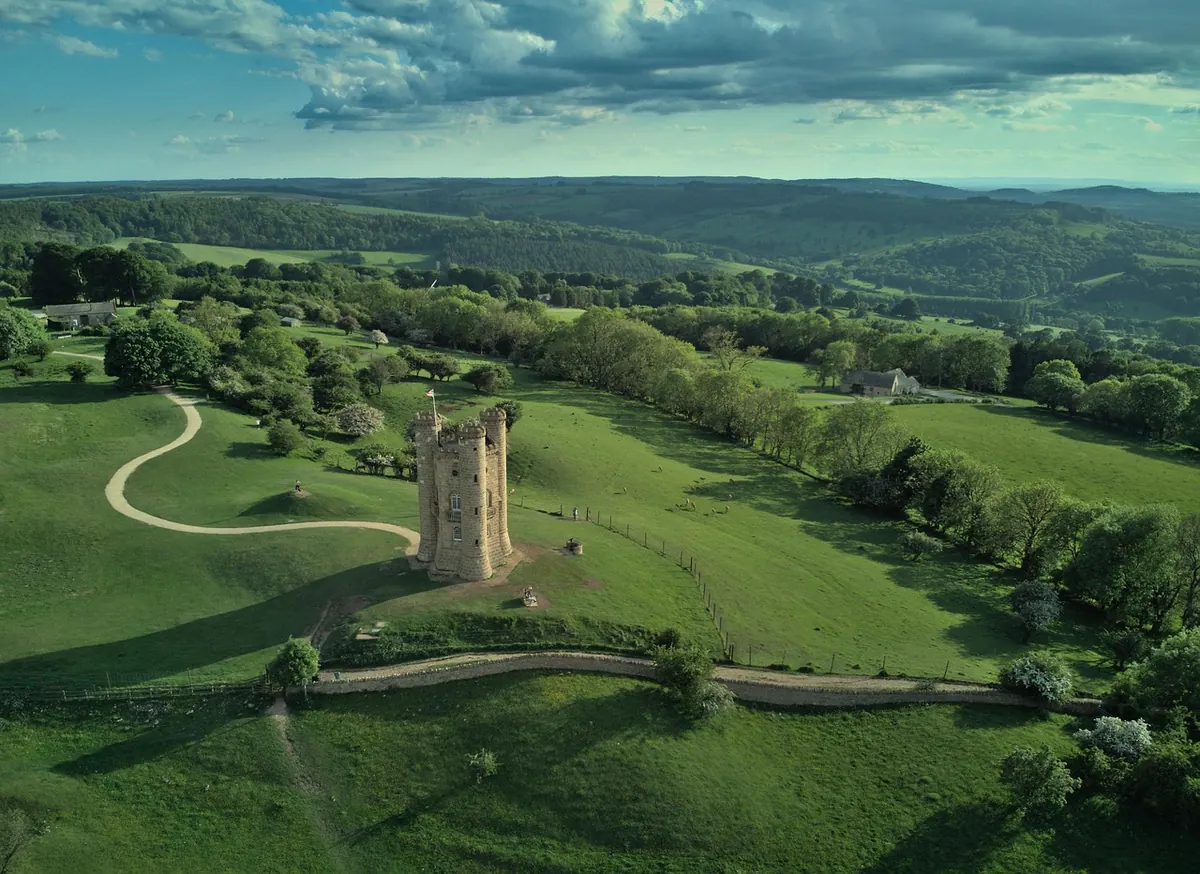
From the designed approach, wide enough to include the grounds and the relationship between building and parkland. This is the frame that answers "where is this?"
The three-quarter view
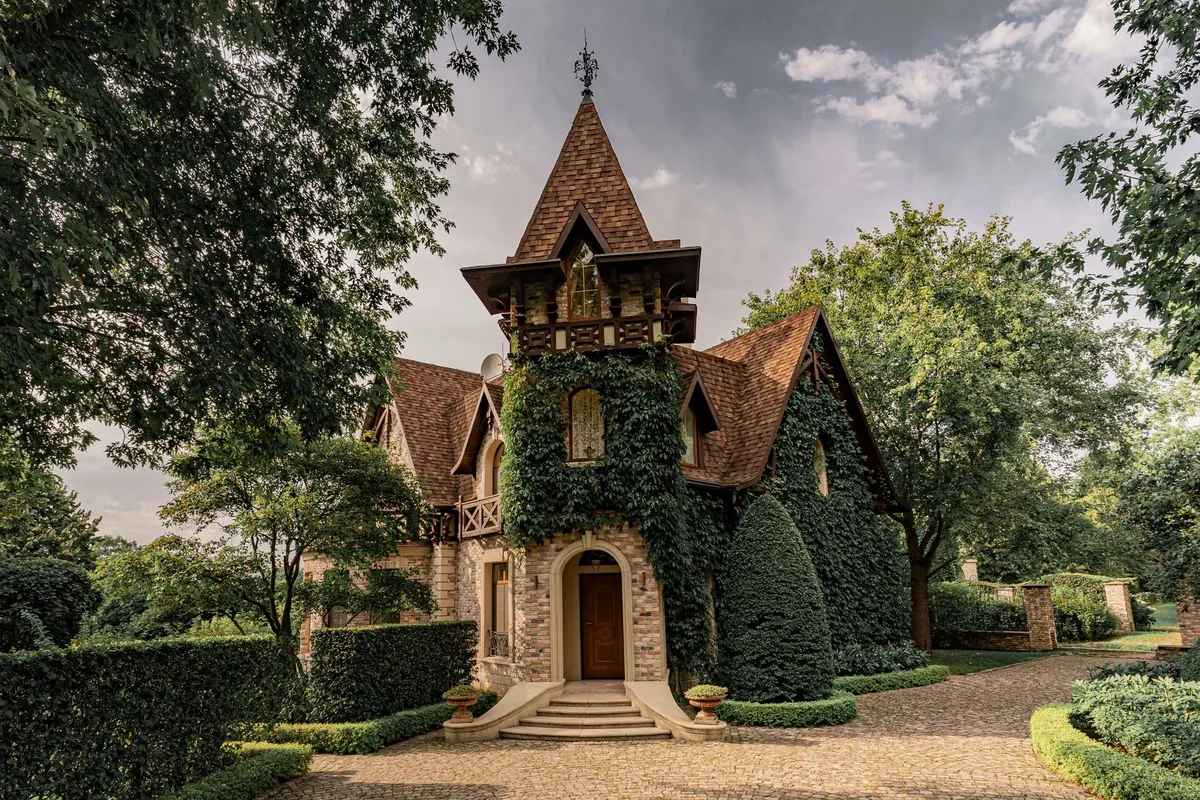
Off the corner, showing two faces, the roofline, the chimney stacks and the rhythm of the windows. This is usually the most flattering portrait of a house.
The details
A datestone, a lead rainwater head, a doorcase, ironwork, the bond of the brickwork, a worn step. Two or three details will carry more character than a dozen more elevations. A short telephoto — around 70–200mm — suits these, and it is also the tool for the long view from across the park, where compression layers trees, grazing cattle and the house into one image.
Weather, season and permission
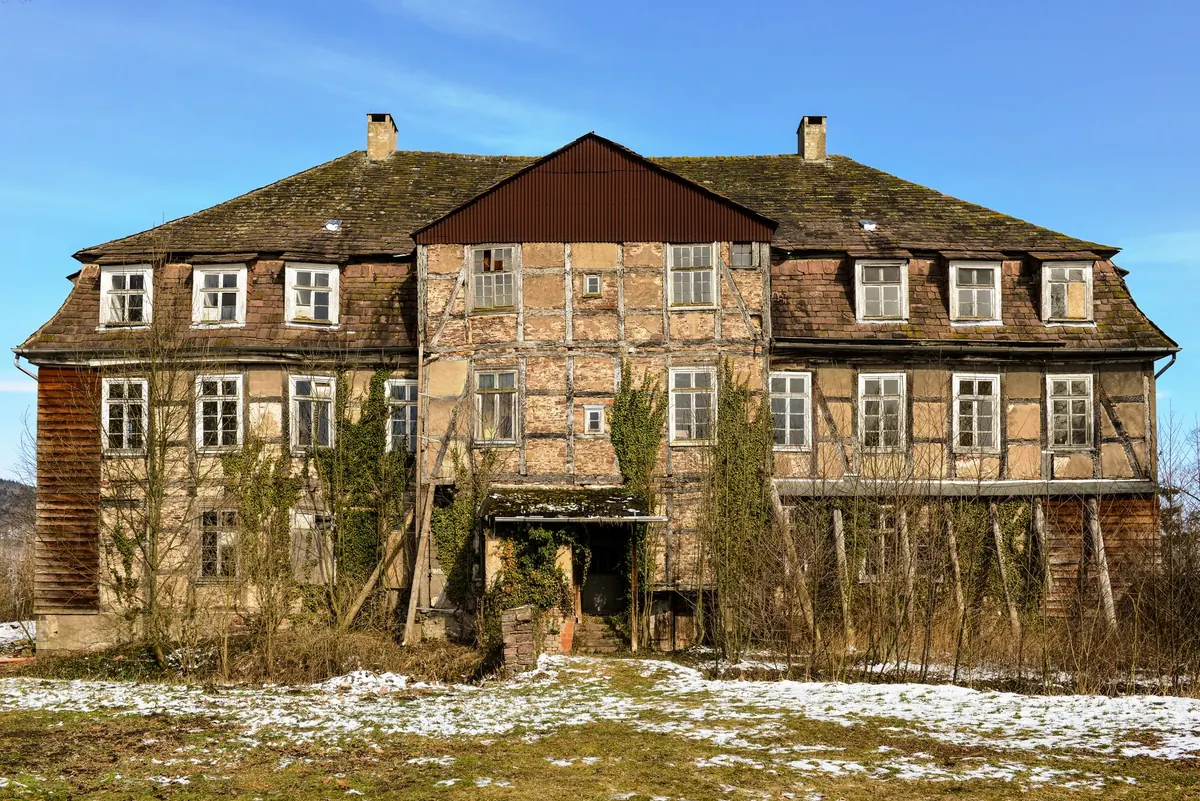
Rain and mist are allies. Wet stone darkens and saturates; mist separates a house from the trees behind it and simplifies a messy background. Winter reveals the structure of a building once the leaves are down. High summer does the reverse — a lime in full leaf can hide half a facade, which is a good reason to plan a return visit in February.
Most manor houses are private homes, working estates or heritage properties with rules. Ask at the estate office or check the website before you travel, particularly for commercial work, tripods and drones; some places restrict all three, and flying near livestock or other visitors is rarely welcome. Stay off lawns and beds, close gates behind you, and park where you are told.
A field routine
- Walk the whole building once before unpacking. Note which face has the light.
- Find the historic approach and start there, camera level.
- Check verticals and horizon on the grid, then shoot the establishing frame.
- Move to a three-quarter position for the portrait of the house.
- Work the details: stone, iron, glass, timber.
- If the light is wrong, wait. Come back at the other end of the day rather than forcing it.
- Check the edges of every frame before you leave.
Do that and you will come home with a handful of photographs that look like the house you actually stood in front of — which is the only standard worth aiming at.
Photo: Alexey Turenkov / Pexels